Tutorial
Stone-to-Deepslate Gradients for Walls, Cliffs and Caves
Match the transition to the height and shape of the surface you are building.
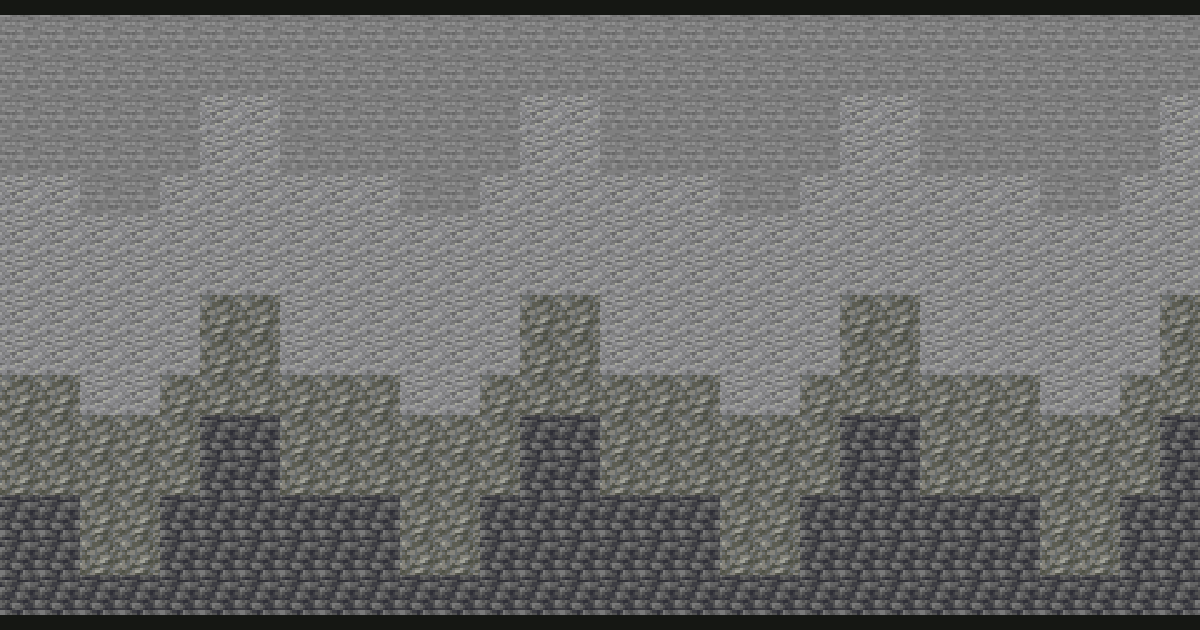
Choose the surface before the block sequence
A  stone-to-
 deepslate gradient can connect a pale cliff top to a darker base, shade a cave entrance, or vary a large wall. The same material list will not look identical in all three places: the available height, shape, and viewing distance change the result.
These examples use Java 26.2 textures for blocks available in earlier releases as well. They are original flat placement diagrams, not in-game screenshots. Treat the recipes as samples to adapt to your build.
1. A short wall: keep the sequence compact


Place deepslate near the base, use tuff as a rough intermediate area, and let andesite meet the stone above. Check the tuff carefully: its color and texture introduce more than a simple brightness step. If that change distracts from your wall, use a smaller patch or compare another middle material.
On an eight-block-high wall, four materials are already plenty to organize. Do not allocate exactly two rows to each one and stop there. Make the boundaries uneven and leave some connected areas of the main surface.
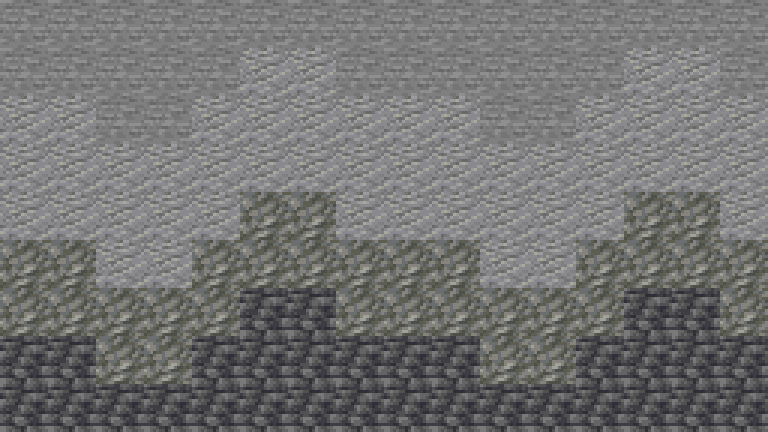
Read the diagram from bottom to top. It illustrates placement direction; the block strip gives the material names. Try the sample beside a doorway or window so you can see whether the darker patch supports that feature.
2. A cliff: let texture follow the rock shape

Use cobbled deepslate in a rough lower area, then compare deepslate, tuff, andesite, and stone across the transition. Keep the roughest textures where the geometry suggests a broken ledge or exposed section.
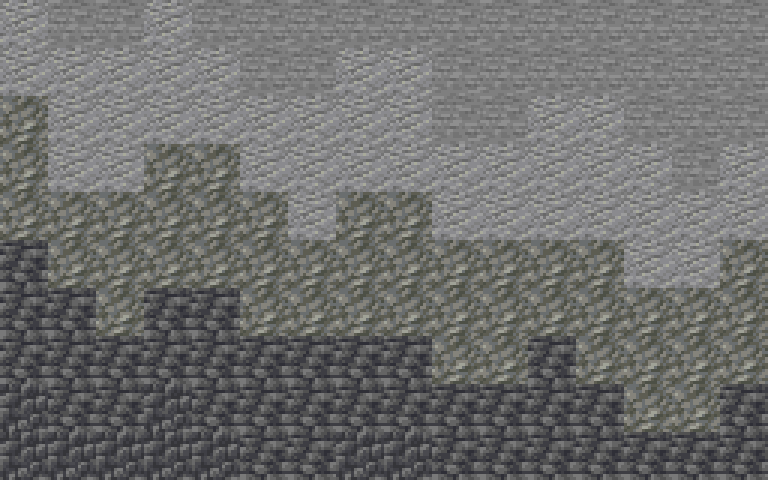
Build the cliff's outline before its gradient. Add ledges, recesses, and a few changes in direction, then apply the materials to those surfaces. A perfectly flat wall covered with five rock textures still has a perfectly flat silhouette.
For a taller cliff, enlarge the connected patches instead of only adding more block types. Let a material continue across several blocks where it helps the shape read from the valley or path below.
3. A cave entrance: wrap the transition around the opening
A cave opening gives you a focal area. Try deepslate close to the recess, a small tuff transition around it, and stone farther out. The direction is inward toward the opening rather than simply downward toward the ground.
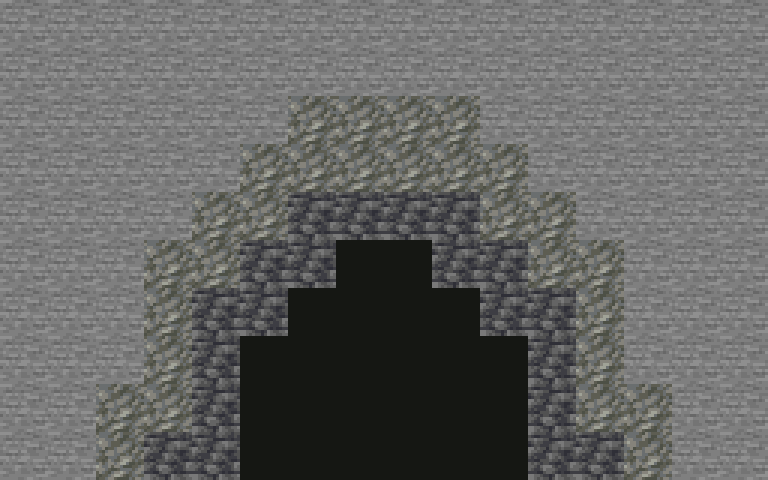
Build the opening in three dimensions and judge the real shadows before adding a very dark ring. Natural lighting may already create much of the depth you want. Use the diagram as a placement idea, not a requirement to outline every cave in black.
Avoid an obvious seam
- Place the two endpoint materials together and identify the jump that bothers you.
- Try one middle block at a time instead of adding several untested candidates.
- Extend the boundary in uneven patches rather than one repeated zigzag.
- Remove isolated high-contrast blocks that interrupt the transition.
- Check the sample both close up and from the intended approach.
Texture is part of the seam.  Deepslate bricks,
  stone bricks, and their rough counterparts have different patterns; similar colors alone do not make them interchangeable. Keep a consistent masonry family where the structure is meant to look deliberately built.
Keep survival materials manageable
Collect the material you will use for most of the surface before committing to the rarest accent. A compact palette can save gathering time without forcing every wall to look flat. The survival gradient guide includes simple sample-wall counts and substitutions.
Generate candidates, then place them deliberately
Start with stone and deepslate in the Minecraft gradient generator. Compare the suggested intermediate blocks in a small wall. You can keep only the candidates that suit the scale and texture of your build.
Read the general gradient tutorial for the difference between scattered, banded, and clustered placement. For a constructed facade rather than terrain, the medieval building guide provides additional material roles and framing ideas.