Tutorial
Minecraft Block Gradients: How to Make Walls Look Natural
Choose a few related blocks, then give each texture a reason to be there.
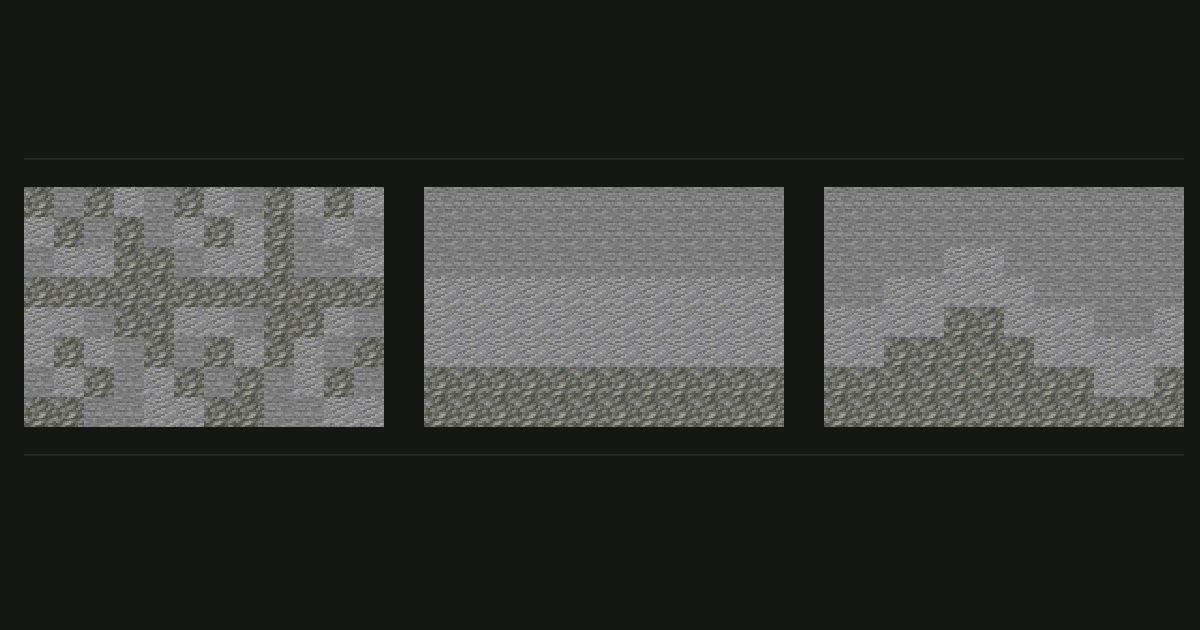
Start with a small palette
A Minecraft block gradient is an ordered transition between materials. On a wall, it can suggest a damp foundation, a sunlit surface, or weathered  stone. The palette chooses the blocks; the placement decides whether they read as one surface.
Start with three blocks: a main material, a darker neighbor, and a lighter neighbor. Build a small sample before adding the combination to a whole house. More blocks give you more options, but they also introduce more texture patterns to manage.


Try tuff for rough, darker patches, andesite as a transition, and stone for quieter areas. This is a starting combination, not a rule that every gray wall needs all three.
Open this stone palette to compare the materials or add a frame and accent.
Compare placement before changing the palette
The diagrams below use the same three textures. They are flat texture layouts made for this guide, not screenshots of completed builds.
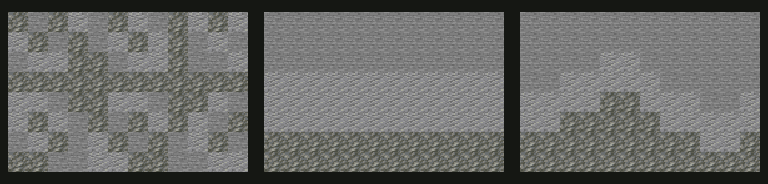
Left: scattered. The whole palette appears across the whole wall. This produces an evenly busy texture, which can suit loose rubble but makes a directional gradient harder to read.
Middle: banded. Materials change in horizontal strips. The order is clear, but straight boundaries can look like stripes on a small facade.
Right: clustered. Related blocks gather in connected patches. The boundaries vary in height, so you can keep a direction without drawing a straight line across the wall.
Build a first wall in five steps
- Make a sample. Use a wall twelve blocks wide and eight blocks high. Fill it with your main block and leave room to walk around it.
- Choose the cause of the variation. For dampness, work upward from the base. For worn corners, concentrate the roughness around edges. Pick one explanation for this sample.
- Place the dark area. Make an irregular patch along the bottom or beside an opening. Let parts of it climb higher than others.
- Soften the edge. Add the middle material around that patch. Keep most neighboring changes small rather than repeatedly jumping from the darkest block to the lightest.
- Keep a quiet area. Leave a connected section of the original wall intact. Step back, then approach the wall again before adding more detail.
There is no universal correct percentage. Start with fewer replacement blocks than you think you need: it is easier to extend a patch than to untangle a wall that is busy everywhere.
Check color, texture, and scale separately
Color: place the blocks in a row. Look for a sudden jump in brightness or a strong color cast. A greenish gray may connect two materials in one palette and look misplaced in another.
Texture: similar colors can still clash. A large brick pattern beside fine speckles creates a change in surface as well as shade. Use that difference deliberately, such as masonry beside a repaired section.
Scale: a patch that looks convincing on a tower may occupy an entire cottage wall. Compare the sample from the path where players will normally see it, as well as from your screenshot viewpoint.
Fix the most common problems
- The wall looks speckled: join isolated accent blocks into a few larger patches, then return some of the surface to the main material.
- The transition has a hard seam: move the boundary up and down locally and add a small amount of the intermediate block.
- One block grabs all the attention: remove it temporarily. Decide whether its color, pattern, or location caused the problem before replacing it.
- It only looks good with shaders: inspect the same sample with default textures and ordinary lighting. Keep the shader view as an additional presentation.
For specific material sequences, see stone-to-deepslate gradients. If gathering blocks is the main constraint, use the survival gradient guide.
Find your next transition
Use the Minecraft gradient generator to explore intermediate blocks between two endpoints. A useful strip still needs a placement plan: take a few candidates into your sample wall and judge them together. The palette generator is useful when you also need a roof, frame, and accent around that wall.
If you are starting from a whole build rather than one surface, begin with how to choose a Minecraft block palette.
Further reading
WesterosCraft's gradient guide is a useful reference on palettes, patterns, and weathering. Its custom blocks and painting tool belong to that server; the diagrams and sample exercise here use vanilla block textures.