Guide
Survival-Friendly Minecraft Gradients With Easy-to-Get Blocks
Build a useful sample with the materials you can gather, then scale it up.
Define easy for your world
An easy-to-get block depends on your world and progression. A nearby forest can make one wood convenient; a distant biome can make the same material an expedition. A small decorative wall also has different costs from a whole castle.
Start with blocks you can already collect in quantity. Use a main material for most of the surface, one supporting texture, and a limited accent. Avoid choosing an expensive block just to make a color strip a little smoother.
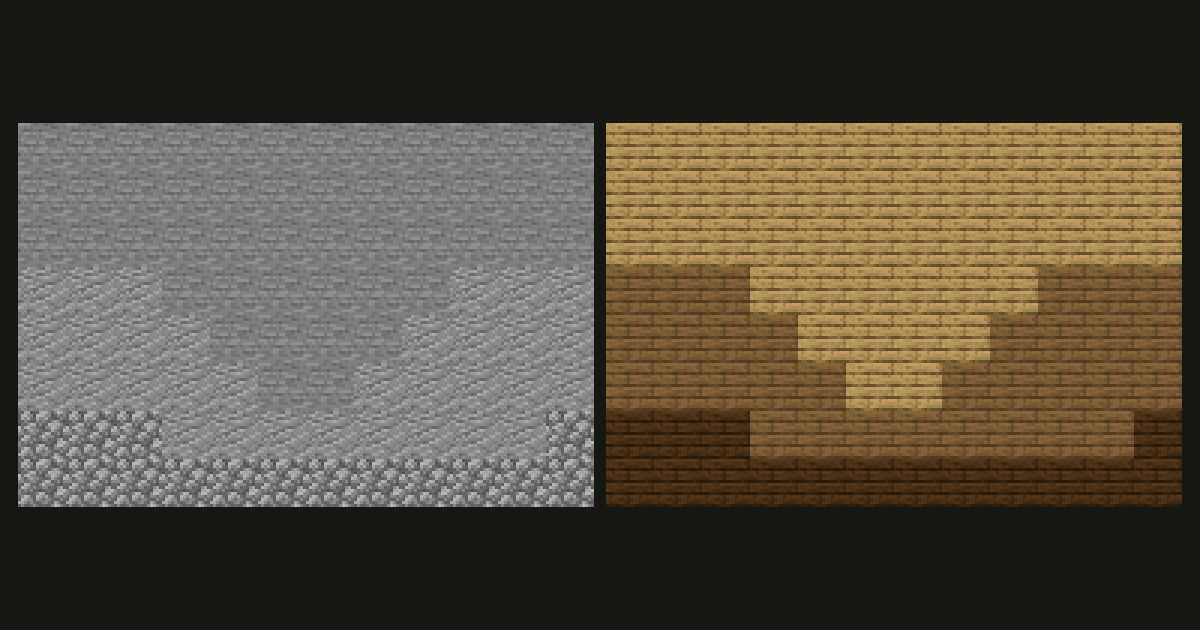
The examples below are planning exercises using Java 26.2 textures. The illustrations are flat texture diagrams, not screenshots of tested survival builds. Material counts describe placed blocks in a solid twelve-by-eight wall, with no windows or trim.
1. Quarry wall with three materials


Use 48 stone, 32 andesite, and 16 cobblestone for a 96-block sample. These materials create surface variation; their exact color relationship should be checked in your texture pack before treating them as a perfectly smooth gradient.
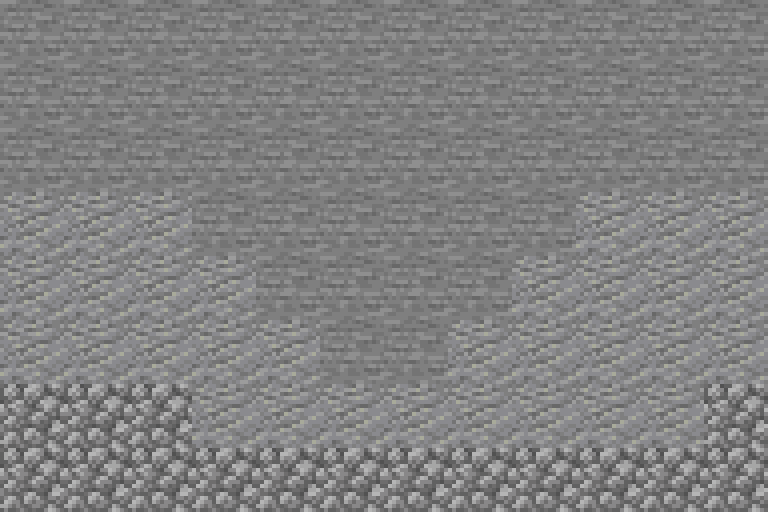
Let stone form the largest quiet area. Gather andesite into a few supporting patches, then place the cobblestone around a rough base or damaged corner. The counts give you a shopping list, not an instruction to scatter each material evenly.
Stone needs a collection or smelting plan. Compare the fuel and equipment you have before ordering hundreds of blocks. If cobblestone is what you can readily gather, make it the main material and use smoother stone as the accent instead.
2. A wood transition with clear material roles


Try 48 oak planks, 32 spruce planks, and 16 dark oak planks for a second solid sample. This is only convenient if those woods are accessible in your world. Begin with the local wood and replace a distant type when the gathering cost outweighs its visual contribution.
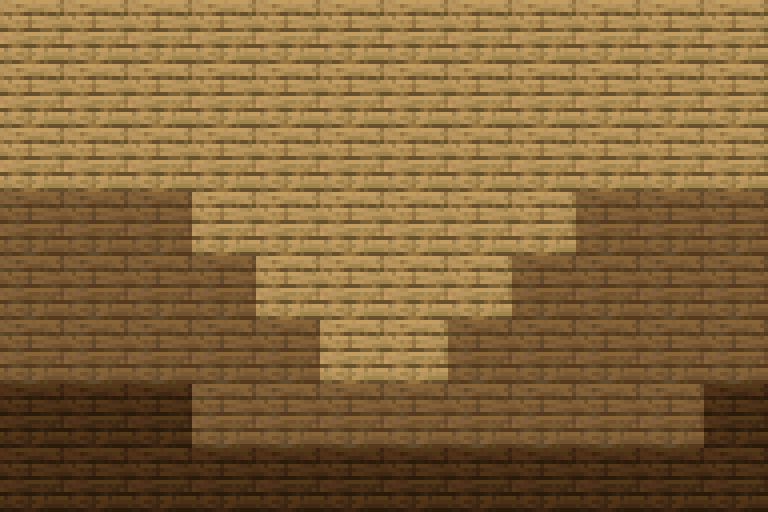
A dark lower patch can suggest a wet or shaded section, while the lighter material remains above it. Keep log framing separate from this plank exercise: the bark and end grain add another texture decision.
The counts here are finished planks placed in the wall. Add posts, roof pieces, doors, and any crafting costs to a separate list. That prevents a useful wall estimate from becoming a misleading estimate for a complete house.
Open the survival wood palette.
3. A restrained dark-stone alternative


If you already mine underground, compare a wall dominated by cobbled deepslate with smaller deepslate and tuff areas. The collection method and location still matter, so do not assume every variant costs the same effort.
This palette works as a rough material study rather than a bright-to-dark ramp. Keep most of the texture consistent and use the supporting blocks where they improve the shape. For a wider transition into pale stone, use the stone-to-deepslate guide.
Scale the sample without losing the pattern
A second identical 96-block sample doubles the first list to 96 main, 64 supporting, and 32 accent blocks. A larger facade with different openings will need its own count; do not multiply blindly if you also change the layout.
Build the broad surface in the main material first, then replace the planned patches. Keep removed blocks for the next section. Check the developing wall from its normal approach so you can stop adding detail when it already works.
Make substitutions by role
- Missing a rough accent: use another rough material you can collect, then check its color beside the main block.
- Missing a middle shade: shorten the palette and make a gentler placement boundary. You do not have to fill every suggested slot.
- Missing a distant wood: keep the local wood as the main material and give the contrast job to a small stone foundation or different trim.
- Building in superflat: verify that each material is obtainable under your world's settings. Normal survival availability does not establish superflat availability.
Gravity, fire, water, and exposed block faces can affect whether a color match is practical. Judge the material in the place it will be used, especially when substituting  sand, concrete powder, or wood.
Use a generator as a shortlist
Explore colors with the palette generator or gradient generator, then keep only the materials that fit your gathering plan. The wall gradient tutorial shows how a short palette can still produce connected, deliberate texture changes.
Save one small sample you like before expanding the build. A clear three-block wall you can finish is a better starting point than a long materials list you keep postponing.